30-Minute Fleece DIY No Sew Reversible Pillow -
No stitch projects are always fun. This DIY no-run up reversible pillow is a new favorite. Information technology'south super easy to make, a neat way to use sometime blankets or sheets, and since reversible is ideal for multiple seasons. Best part? All you need is textile, scissors, and a ruler to brand this happen!
No Run up Reversible Pillow
Every sofa needs a nice throw pillow. Mine has several. I use them for when I have a nap, to prop up my laptop, or to put behind my back on the worn-out section of our sofa.
I like irresolute them out each flavor to match the holidays, but sometimes I just want a piddling different look to a room. Being able to make my own pillowcase or pillow saves a ton of money on our home decor.
This easy no-sew option is 1 that I can make in nether half an hr! I tin can slip this over an old pillow, or stuff with pillow stuffing. Both means are piece of cake and perfect for your home decor needs on a upkeep.
If you like this one, you'll love this huge list of accent pillows you tin make in an afternoon. Of form, if you want to personalize a no-sew project, make this no-sew bag!
Will This Work With Any Fabric?
I adopt the fleece style fabric as shown, but yous can utilise this same method for nigh whatever material. Fleece options brand the edging expect more attractive than a thinner material, but both are dandy for upcycling.
This is especially handy if you accept older blankets or sheets that accept holes or stains on an area merely are overall in good shape.
Tip: At the finish of the wintertime season, many stores sell cheap fleece blankets for only $3-$five each. These are typically big enough to make two-three pillows as shown. With the correct bargain and some inexpensive pillow stuffing, you tin make a whole set for under $10!
I've fifty-fifty had some success making them from these inexpensive flannel blankets from Amazon.
Use those same inexpensive blankets to make these bang-up throw pillows or cushions for your habitation.
Can I Launder This No Run up Pillow?
Of grade! For this, I simply undo one side of the pillowcase and toss the whole thing into the washing machine. Since it is unproblematic to thread back together, information technology makes a perfect selection that is washable, versatile, and like shooting fish in a barrel to create. If you desire, yous tin toss the unabridged pillow into the washing machine, just I recommend only doing that if you lot are using this as a pillowcase to an existing throw pillow.
Protip: Take the pillowcase off and throw it into one of these mesh laundry numberless to keep information technology together while washing.
If you want more projects, brand sure to bank check out this list of DIY no-sew craft ideas. In that location are tons of ways you can use textile to brighten up a room without the needle and thread. For those who enjoy sewing, this DIY sewing kit pincushion jar is a smashing addition to your project list and sewing corner.
What Should I Fill My Pillow With?
I adopt using an existing throw pillow and making this as a pillowcase just. This ways I only take to invest in the cloth and can reuse what I already take on hand.
However, if you desire to make this to souvenir, you can fill with whatever pillow stuffing. I often buy this poly-fill up on Amazon as a good choice that is inexpensive and works well for pillows. A bag of this can make 4-5 throw pillows, depending upon how big I make them.
Another fun idea is making a bed sewing pillowcases together. Kids love this ane to lounge and picket cartoons or movies on!
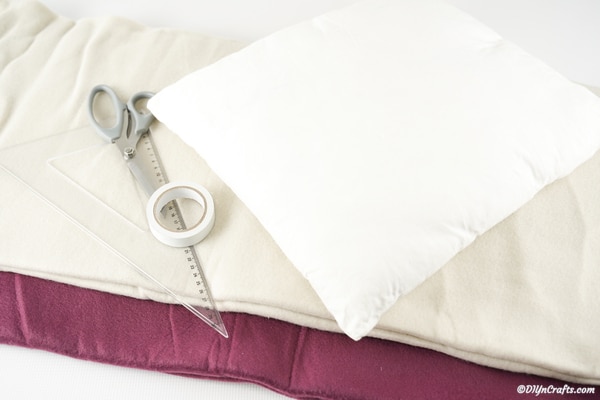
Supplies Needed
- Basic throw pillow
- Fabric in two colors
- Pair of scissors
- Ruler
- Tape
How to Make a No Sew Pillow
Brainstorm by measuring the pillow you lot are making this case for and making annotation of the size.
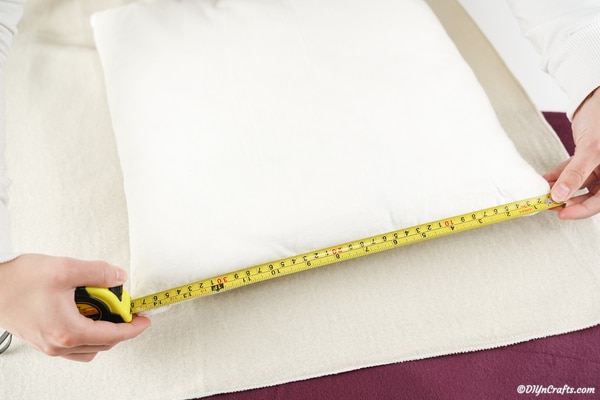
You will need to and then measure out the fabric adding iii″ on each side to the measurement of the pillow.
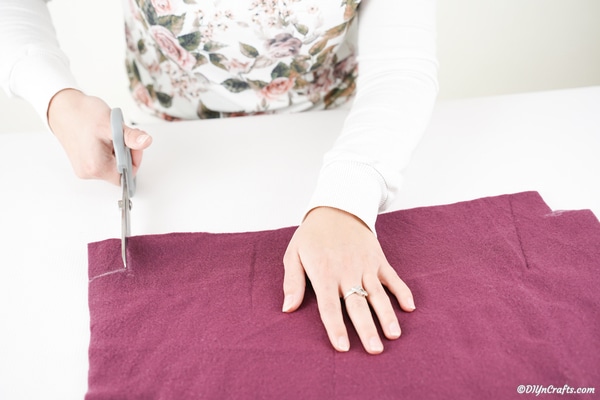
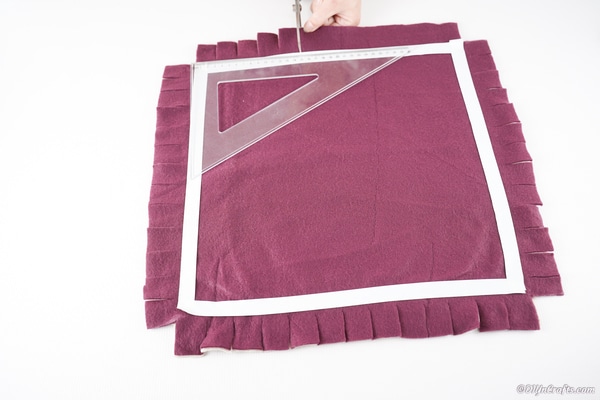
Once you have measured the fabric, you lot will make marks and cut them into a square. Do this for both colors of textile.
Once both colors have been cut, you will identify the squares on peak of each other, then mark a 1″ foursquare on each corner. You volition then cut each of these off to create a notch.
At present, apply the record to create a square on your fabric. This will requite y'all a guide to cutting each "fringe" for making the outside of the pillow stay together.
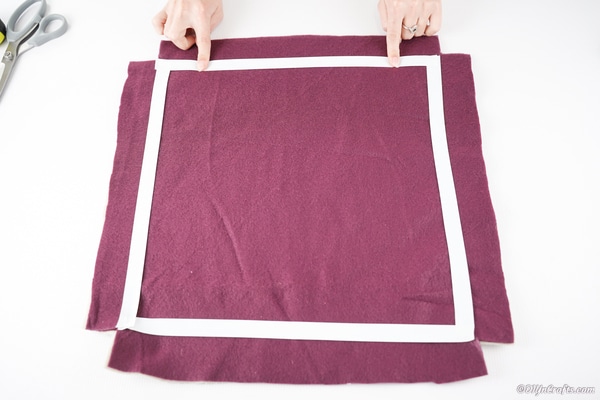
Remember, your two colors of fabric are laying on top of each other, and then y'all will be cutting through two layers.
Now, you volition begin cut through the material to create slits/fringe around the entire foursquare of material.
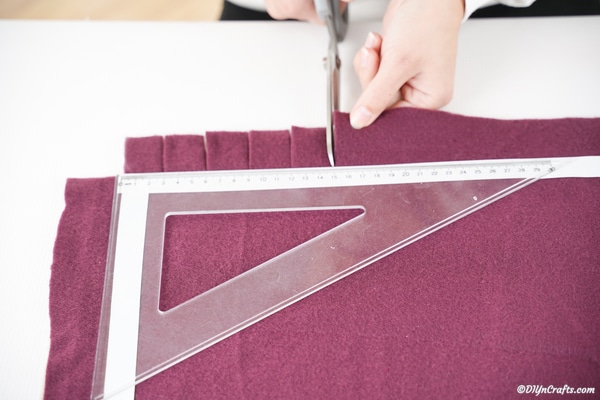
I used the ruler and record every bit a guide to help me follow and cut the aforementioned depth into the cloth. I cut these around 1/" apart. Go along this process around the entire square of cloth.
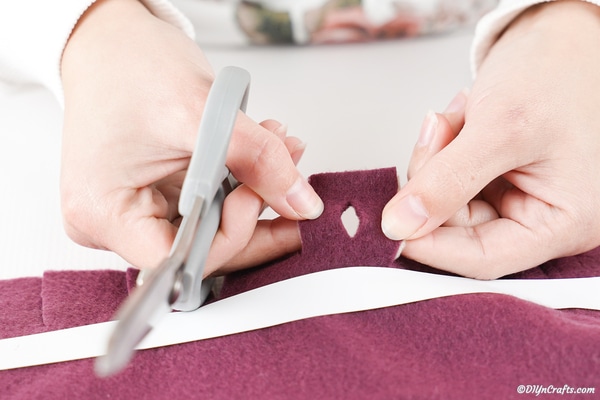
At present, fold each department of fabric over itself, then cutting through a small slit as shown below.

Yous are simply creating a small slit in the cloth as shown beneath. One time all slots are created, remove the tape from the fabric.
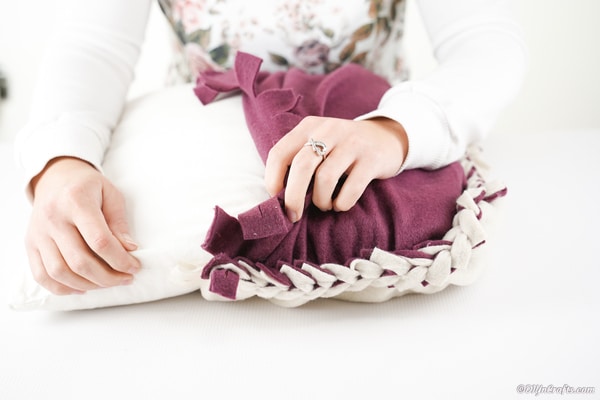
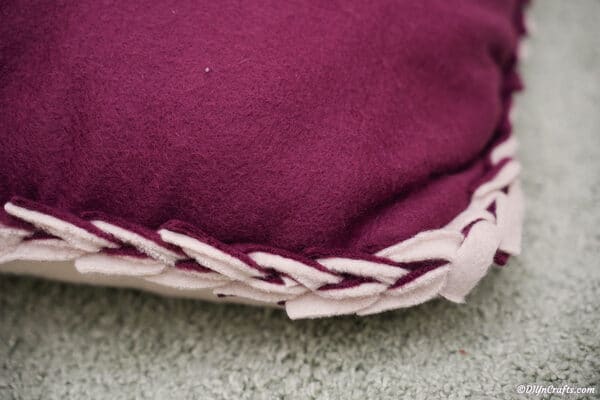
Now, you will begin weaving this cloth together to create a rope look around the exterior of your pillowcase.
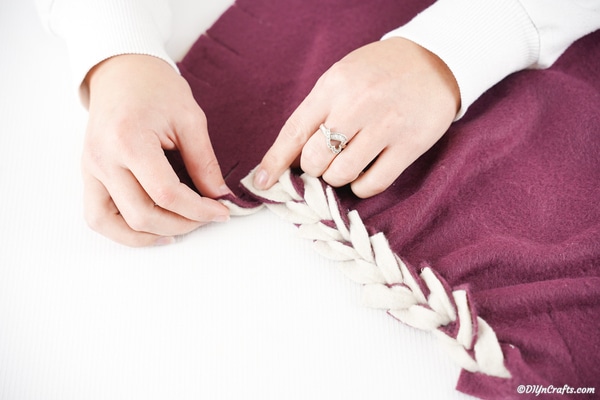
To create the braided rope shown to a higher place, you volition push the textile through the slit in the section beside it moving around the pillow until 3 sides have been completed.
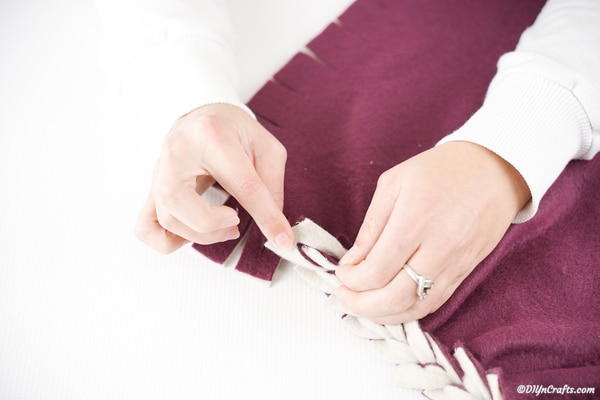
At present, you lot will fill the no sew reversible pillowcase with polyfill or with the throw pillow chosen.
At present, y'all will go on weaving the fabric as before until the final side is closed.

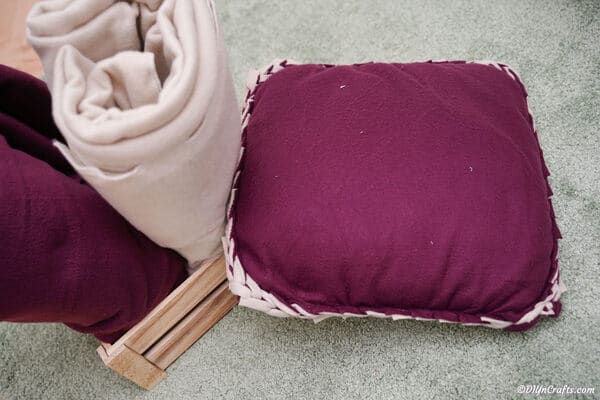
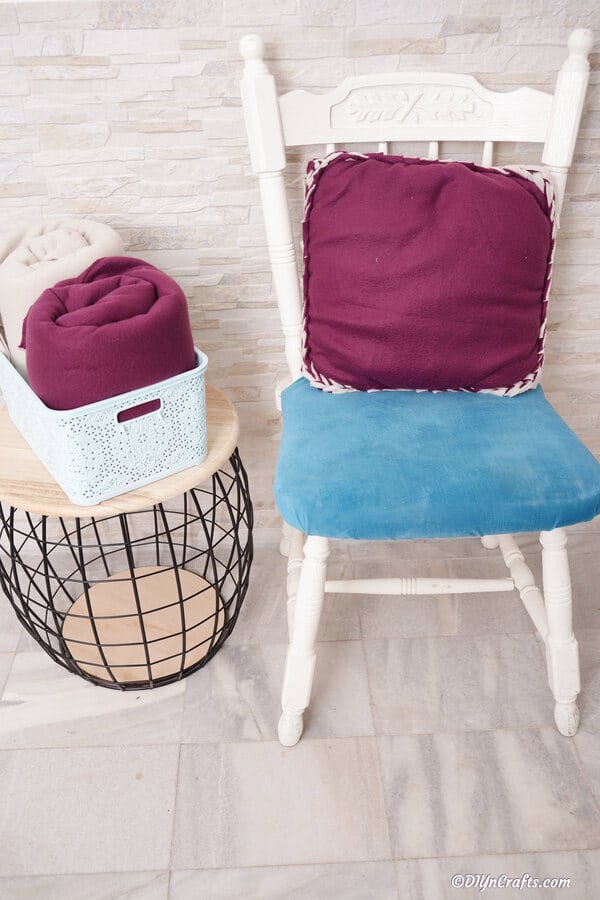
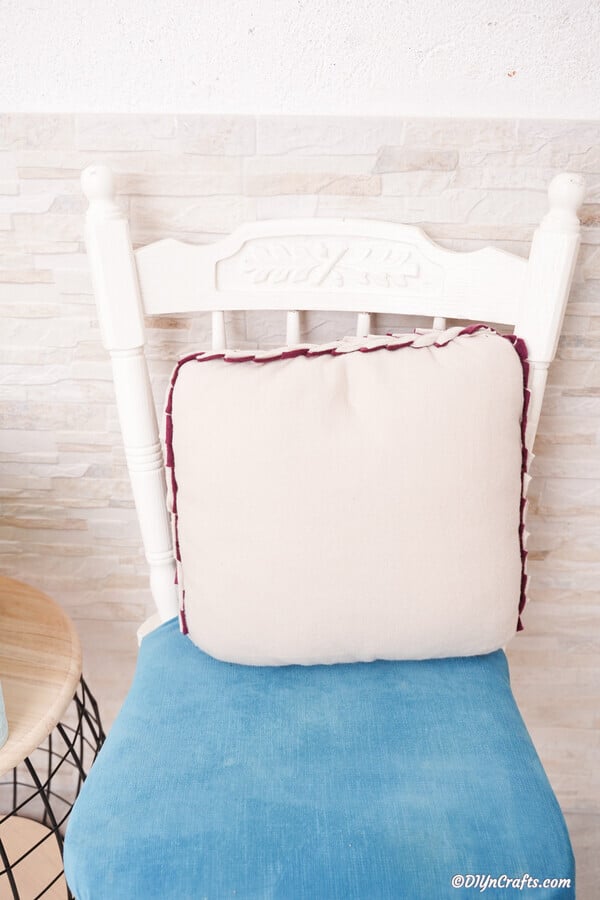
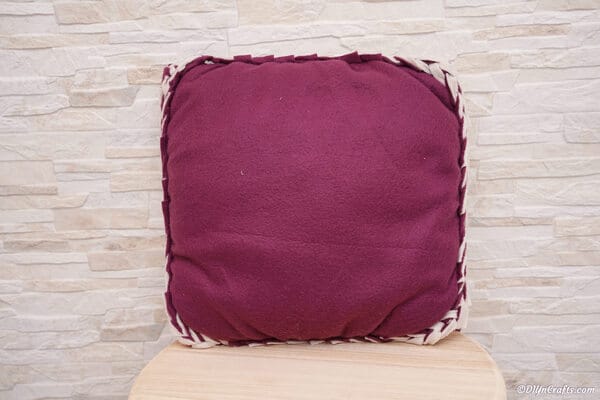
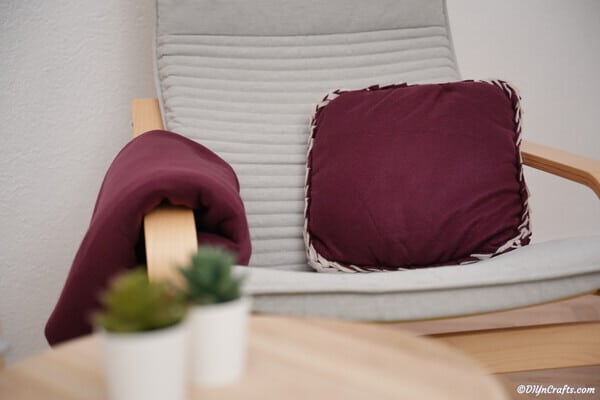
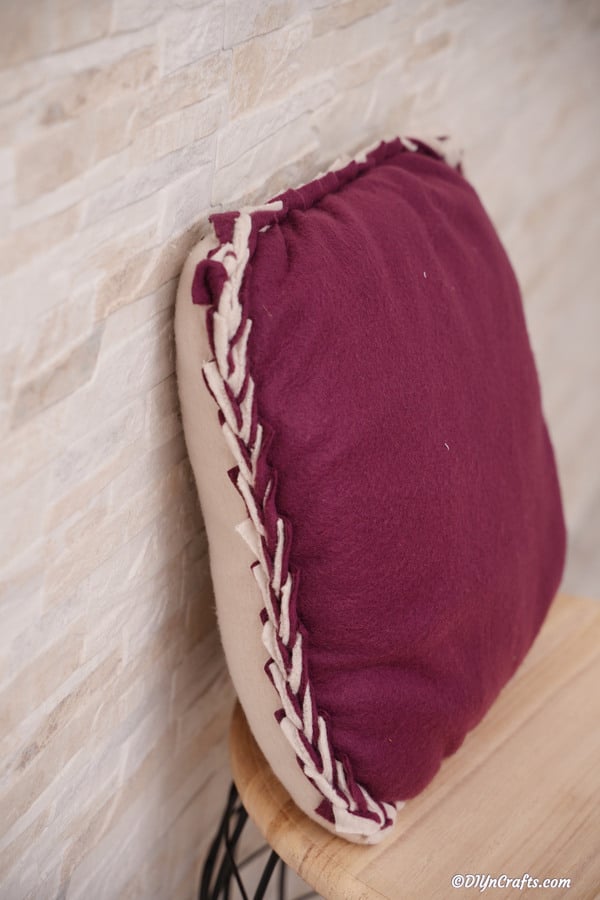
Display your pillow on your couch, bed, or chair.
How Tin can I Make This a Reversible Pillow?
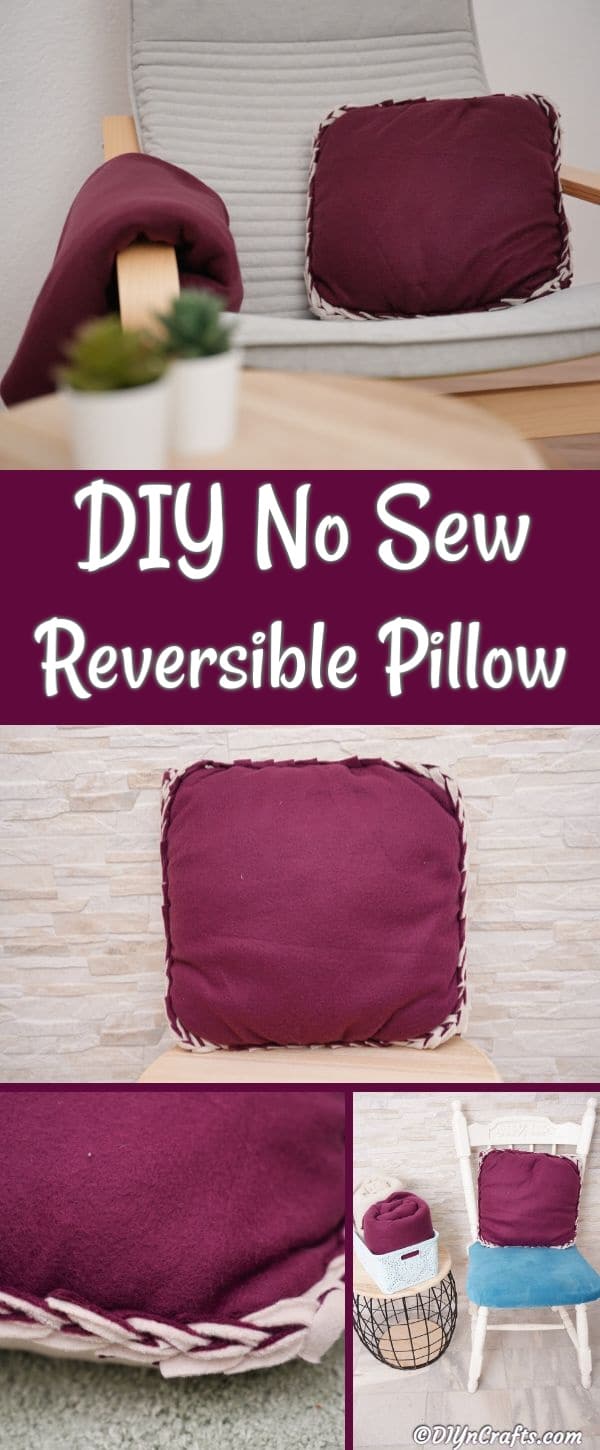
This design uses a dark purple color on i side and a lighter majestic or lavender colour on the other side. You can use whatsoever color combination preferred. This gives the pillow two colour options, making information technology a reversible pillow you can switch sides for different looks.
Another way to use this is to cull a fabric with different colors on each side and and so plough the pillowcase inside out for a different wait. I beloved the fact that this pillowcase idea is so easy to adjust for whatever habitation decor theme.
Printable Step by Stride Photo Tutorial:
Prep Time 5 minutes
Agile Fourth dimension 25 minutes
Total Time xxx minutes
Difficulty Easy
Estimated Toll $x
Materials
- Basic throw pillow
- Fabric in 2 colors
Tools
- Scissors
- Ruler
- Record
Instructions
- First, you will measure the size of the pillow yous want to comprehend. At present, you will apply that measurement, and add together 3" to it to create a large square of fabric for the pillow;
- Measure and cutting the squares of material in 2 colors then stack those on tiptop of each other evenly;
- At present, you will marker a square on each corner and cut to create notches in the fabric;
- Add tape to the foursquare of fabric to create a marker for when you cut the fringe forth the outside;
- Cut a slit well-nigh ane" deep every i/two" around the outside of the fabric;
- When yous have cut effectually all 4 sides, you will then begin cutting a slit in the middle of each fringe piece to create a keyhole;
- Fold each fringe in one-half, and cut a slit down the eye as shown;
- When all sides have been cutting, you volition now take ane section of cloth and push through the slit in the fabric next to it;
- Continue doing this around three of the edges of the pillow;
- When 3 sides have been woven together, you will so put the throw pillow or stuffing into the pillowcase;
- Once it is in place, you will continue weaving the fabric on the concluding side;
- When completed, brandish as you desire on your couch, chair, or bed.
Notes
This tin be done with the same colour cloth on both sides, alternate colors of textile, or with patterned fabric if preferred.
Recommended Products
I earn a commission on purchases made via the links within this postal service.
-
Poly-Fill Fiber
Source: https://www.diyncrafts.com/77383/crafts/30-minute-fleece-diy-no-sew-reversible-pillow
Post a Comment for "30-Minute Fleece DIY No Sew Reversible Pillow -"